Adding a Custom Syscall to the Kernel
Adding a custom syscall is one of the most direct ways to extend the kernel–user interface. Below is a concise overview of how it’s structured and what each step means conceptually — not just how to type the commands.
1. Implement the Syscall Logic
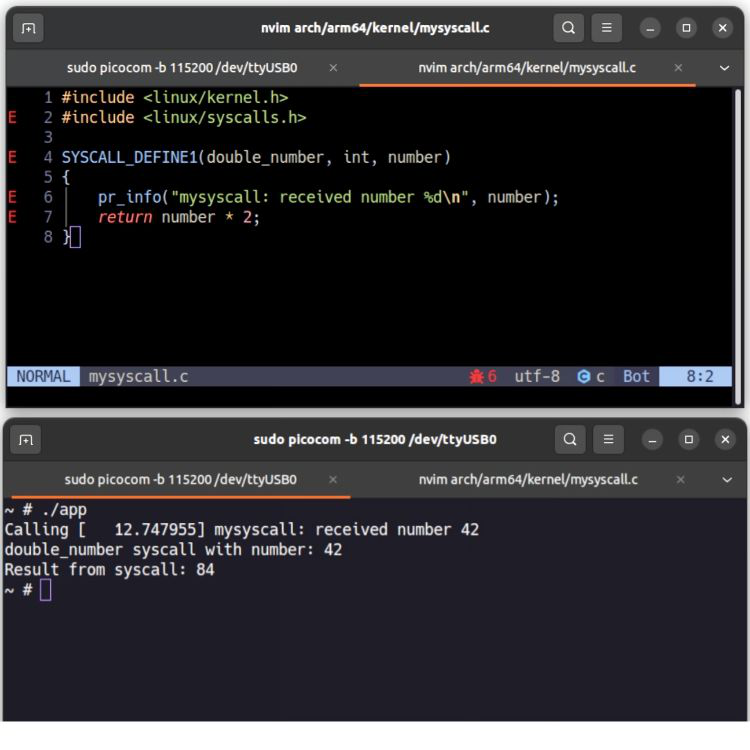
In the ARM64 architecture, create a new source file (for example arch/arm64/kernel/custom_call.c). Inside this file, define the kernel function that performs the logic of your syscall — for instance, receiving an integer and returning its double.
This function represents the privileged side of your syscall, running entirely in kernel space.
2. Assign a Syscall Number
Every syscall is associated with a unique numeric ID. You assign that number inside unistd.h (for example, #define __NR_custom_call 462).
Both the kernel and user-space program must agree on this number — it’s effectively the “address” of your syscall.
3. Update the Build System
Edit the corresponding Makefile (usually under arch/arm64/kernel/) to include the new object file: obj-y += custom_call.o
This ensures the syscall implementation is compiled and linked into the kernel image.
4. Rebuild the Kernel
Rebuild and install the kernel so that your changes take effect.
Once booted, the kernel now recognizes the new syscall ID and can route calls to your handler.
5. Test from User Space
Write a small C program that triggers the syscall directly (via inline assembly or the syscall() wrapper).
For quick tests, passing the syscall number directly is easier; later, you can provide a proper user header with a defined constant.
Example:
Call syscall number 462 with argument 21, expect the kernel to return 42.
Notes
- Using direct syscall numbers is fine for debugging, but defining a shared header is better for maintainability.
- Choose an unused syscall number to avoid collisions.
- The return value should follow standard Linux conventions (
-errnofor errors). - The overall logic remains consistent across kernel versions, though paths and tables might differ slightly.
In short, the process is simple: implement → assign → build → boot → test.
This pattern defines how user-space applications safely extend kernel capabilities through controlled interfaces.